How to: Crazy Paving

How to: Crazy Paving
Get the Guide: How to: Crazy Paving
Stone Crazy Paving is a type of natural stone paving that originated in Ancient Rome, where they used chipped stone to create roads and pavements.
Bearing similarities to the Italian practice of Terrazzo, this type of stone paving resembles a mosaic, except instead of glass, it's loose, irregularly shaped and sized stones that are laid in a haphazard manner with grouting poured between the gaps. Stone laid in this way is durable, weather-resistant, and low maintenance besides being sustainable.
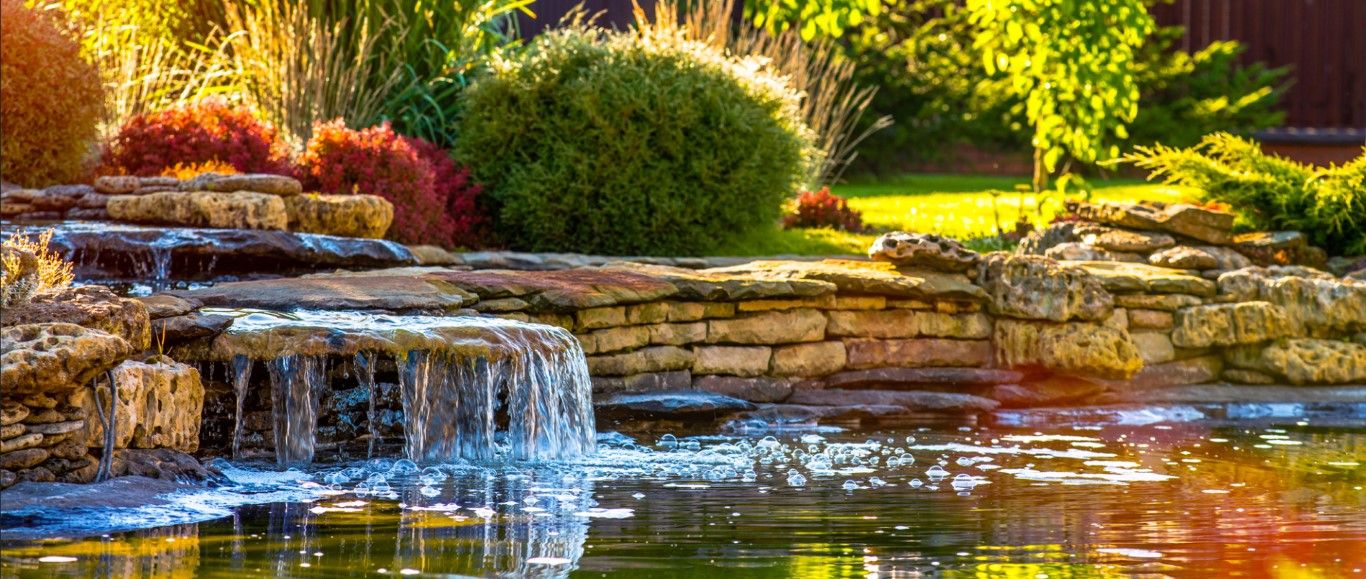
Unlike most stone paving where pavers are laid in a geometric grid style, a crazy paving design uses naturally broken stones, and it has no clear geometric grid or pattern. This design is predominantly used in driveways, garden paths, courtyards, pool-side pavers, and many other locations where you want a more Avant Garde or natural look.
In New Zealand, crazy paving became popular in the 1970s with the rise of the modern movements. Nowadays, due to their more naturally flowing aesthetic, crazy pavers are an excellent choice for many curved areas in your front or back yard.
At Stone & Water World, we're proud to stock a wide range of natural stone sourced in New Zealand and abroad such as Waitaha Schist, Euro Pavers and Alpine Schist from the South Island.
Laying stone in this way is no easy task, we always say it's an art form. If you're keen on giving it a go yourself, here's a few do's and don'ts to help you in the process.
Measuring
Of course, measuring the area is the first step to be able to calculate the amount of stone you will need. Measure the entire perimeter of the vicinity and then figure out the area of crazy paving in square meters.
To calculate square meters, you need to know the length and width of the area. The formula for calculating square meters is length x width = m2. For example, if your area has a length of 3 meters and a width of 2 meters, then 3 x 2 = 6 m2.
Also, we would suggest adding stone sealant to your budget to avoid the over-budgeting issue in the future. Sealant is necessary to protect the stones when exposed to high traffic, weather fluctuations, or moisture.
Planning the Area
Crazy pavers, because of the random shapes, tend to go out of the assigned area. Get spikes and strings to create a border around the proposed paving area. Just push a spike in the ground and tie a string around it, connecting it to another spike in another corner or edge. This will create a map or barrier that will ensure that the paving stones don't go out of the area.
Prepping the Base and Laying the Stones
Wet Mortar Bedding Method:
- If you are laying the stones onto a concrete slab and the stones are 20mm or less in thickness, use a flexible glue to adhere them to the slab.
- Dampen the concrete, apply the adhesive, place the mortar mix. Also, apply the bonding adhesive to the back of the stone.
- Place the stone in place and gently tap with a rubber mallet which avoids making marks on stones. Tapping ensures there are no air bubbles trapped beneath the stone as they cause the adhesive to weaken with time.
- Always start by laying the bigger stones first followed by smaller stones that are used as fillers.
- Open joints of 8-10mm spacing should be allowed. Fill the empty space around the stones and remove any excess mortar.
- Remove excess material from the surface with a clean sponge and water. This will avoid staining the stones and avert any mess.
Adhesive Bedding Method:
- In case you are laying the stones on the ground, prepare a compact road base and sand cement screed.
- The screed should be flattened and dry, followed by the removal of dirt, dust, or oil.
- Prepare a uniform layer of adhesive at least 8-10mm thick and butter the back of the stone. Always clean the stone before
applying the adhesive. - Please make certain that the adhesive doesn’t dry up while being exposed to the air for too long. Therefore, apply adhesive to the stones one by one.
- Lay the stones and tap with a rubber mallet. Remember to start with bigger stones and then fill the gaps with smaller stones.
- Allow consistent open joints of around 7-10mm.
Grouting
The process of grouting would remain the same in both methods.
- With a sponge, dampen the grout joints and stones.
- Place the grouts into the joints, taking care to avoid vacuums. Thrust the grout to the full depth of the stones.
- With the help of a trowel, remove excess grout.
- After the grout has been set, use a wet sponge to clean the paving stones removing surplus grout if any, dirt, rubble, or dust. You can use a pH-neutral cleaner and a nylon pad to get rid of stubborn elements like oil or debris.
- Please note you should never use acidic cleaners or else the stone and grout get damaged beyond repair.
Sealing
The last step in the crazy paving installation is sealing. As mentioned earlier, sealing protects the stones and ensures their durability. It is advisable to use a good quality penetrating sealer that helps to lock the colour and shine of the stones.
If you found this blog helpful, you might like:
- How to: Choose the Right Stone for your Pathway or Patio
- A guide to New Zealand Schist, Pebble & Riverstone
- Get Creative with Garden Pathways